Guitar Drawing for Kids
Have you ever wondered why drawing worksheets are introduced to kids in their early education? Does it offer any advantage to them? Yes, the answer to the second question is indirectly the answer to the first question. Drawing worksheets offer numerous benefits to kids. They help them to mark growth in their academic and personal lives. Some might think that the only benefit of drawing exercises is the refinement of drawing talents, but is that the only reason to practise it regularly? Do drawing worksheets offer any other benefit to kids? Yes, regular practice will help them improve their cognitive skills, level of concentration, hand-eye coordination, muscle strength, creativity, visualisation skills, ability to trace colours, etc.
Apart from all the above-listed benefits, drawing worksheets provide a smooth and easy introduction for kids into the world of learning. Since they are fond of drawing, parents and teachers around the world use drawing worksheets as a tool to introduce various new topics or information to them. Let’s welcome our little ones into the world of music and musical instruments by providing guitar drawing for kids from EXAMIFIED. The information provided in this article will help them to get a better idea about the shape, parts and types of guitars found in the musical world. The exercise will also offer a chance for them to think beyond convention and apply their creative thoughts. Parents and teachers use similar worksheets to make kids’ learning effective and engaging.
A List of Free Printable Guitar Drawings for Kids
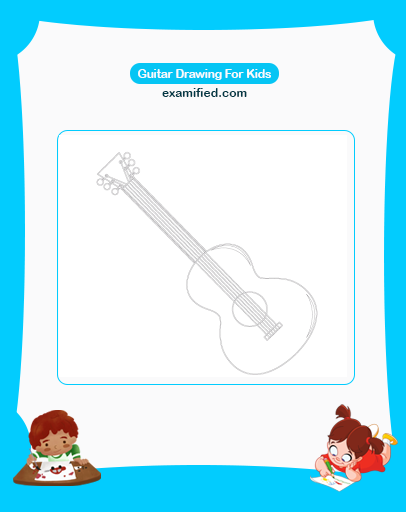
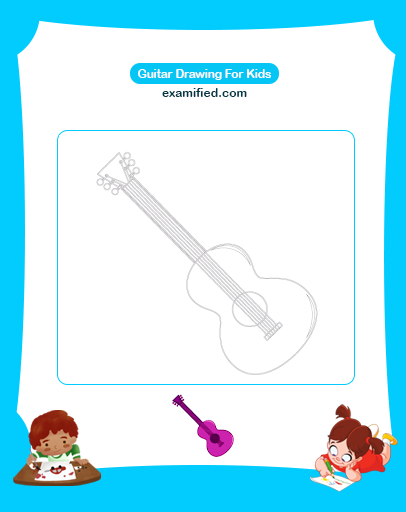
To ease the effort of learning how to draw appealing images of a guitar, we have provided two simple drawing worksheets below. The first image will help them learn how to sketch the outline of a guitar, and the second one will help them learn how to colour it. The selection of colours plays a critical role in determining the overall quality of the drawing. By practising the worksheets on a regular basis, kids can widen their knowledge about colours and their combinations. If your kid is passionate about drawing and music, especially playing the guitar, then there is no better choice than the guitar drawing easy worksheet.
Drawing a Guitar

Colouring a Guitar

Drawing Simplified – How to Draw a Guitar for Kids?
Let’s introduce our little ones to the methods that they need to follow to sketch a wonderful picture of a classical guitar. Since it is one of their earliest drawing worksheets, we have arranged each step in the simplest possible manner. Kids can go through the guidelines provided below and master the technique of drawing a guitar easily. The only tools required for drawing the picture of a guitar are paper, a pencil, an eraser, a ruler and colouring supplies.
- Let’s start drawing the picture of a guitar by sketching the headstock. If kids are unfamiliar with a headstock, explain and make them understand it before stepping into the further processes.
- Draw an asymmetrical rectangle to represent the headstock of the guitar. Draw the shape in such a way that the top end of the headstock is tilted towards the right.
- Add tuners to the headstock. Tuners can be represented easily by sketching two small circles on each side.
- Following the headstock and tuners, draw the guitar neck. The guitar neck is the longest part. It can be represented by sketching two parallel lines. While drawing this part, make sure that the top ends of the parallel lines are connected with the headstock.
- Next, sketch the guitar body. Kids can use wavy lines to represent the body of the guitar. If they find any difficulty in sketching, ask them to use a reference image.
- Add a sound hole in the centre of the guitar. A sound hole can be drawn by sketching a circular figure in the middle of the guitar.
- Then, add a guitar bridge. In order to represent a guitar bridge, draw a small rectangular figure below the sound hole at the bottom of the body.
- Once completing the guitar bridge, add strings to the guitar. Strings can be easily represented by drawing some thin parallel lines. Adding strings is the final step of drawing the rough outline of the guitar.
- Remove unwanted scribbling errors from the picture using an eraser.
- Once corrections are made, use a black marker and redraw the outline. Redrawing is done to provide an attractive appearance to the picture.
- As the final step of the process, colour the guitar. Usually, a wooden colour is used to fill in the exterior body of a classical guitar. Kids can also customise the guitar by choosing colours according to their ideas.
One of the key advantages of following the How to Draw a Guitar step-by-step easy drawing tutorial is that it will help kids to get familiar with the various parts of a guitar. By practising following the above-listed guidelines, kids can easily understand what a headstock, tuner, sound hole, guitar bridge, etc., are. Once they develop a basic idea of how to portray the shape of a guitar, they can step into designing new models on their own. For more kid-friendly resources similar to the guitar drawing for kids, visit the EXAMIFIED website.
Related Links:
Frequently Asked Questions – FAQ
Why is it suggested to include the guitar drawing for kids in early education?
Which colour is usually used to fill in the body of a classical guitar?
Stay tuned to EXAMIFIED for more articles that help kids learn new skills!